


Switching to vaping can be a smart choice for adults looking to quit smoking, but the variety of options can be overwhelming. Building your own starter vape kit is a simple, cost-effective way to customise your setup based on your needs and budget. Here’s a step-by-step guide to help you get started.
Step 1: Choose a Refillable Device
At the heart of every vape kit is the device itself. For beginners, refillable vape kits are often the most practical and economical choice. These devices allow you to manually refill e-liquid, recharge the battery and replace coils when needed making them far more sustainable and cost-effective than disposables or closed pod systems.
Refillable kits come in two main styles: pod systems and vape pens. Pod systems tend to be compact and user-friendly, while pens are slightly larger but offer more battery life and vapour control. Either can be an excellent entry point depending on your lifestyle.
A trusted selection of refillable devices, including beginner-friendly options, can be found at Freesmo’s refillable vape kits section, where users can browse by style, brand and performance features.
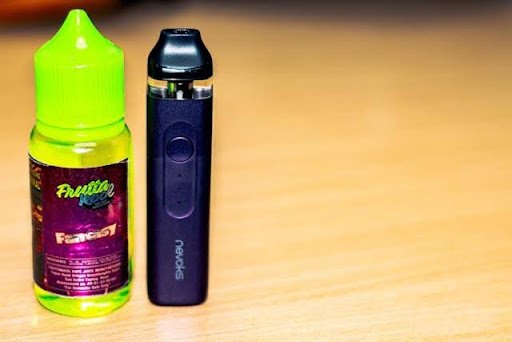
Step 2: Select the Right E-Liquid
Once you’ve chosen your device, the next essential component is e-liquid. This is where things can get personal flavours and nicotine strength vary widely and your choice should reflect your individual needs.
If you’re transitioning from smoking, nicotine salt e-liquids are often a good place to start. They offer a smoother throat hit and faster nicotine delivery compared to freebase nicotine, which might feel harsh for new users. Nicotine strength can range from 3mg to 20mg, so it’s best to begin with a moderate level and adjust as needed.
Flavour is also key to satisfaction. Whether you lean towards fruity blends, menthol coolness or classic tobacco, finding a flavour you enjoy makes it easier to stay consistent.
Tip: Buy smaller bottles at first so you can experiment without committing to large quantities. Once you find your go-to flavour, bulk purchasing can lead to better savings.
Step 3: Include Spare Coils or Pods
Every refillable device uses a coil or pod to heat the e-liquid and create vapour. These components degrade over time and will need replacing every one to two weeks depending on use. Including an extra pack of coils or spare pods in your starter kit saves you from last-minute trips or interruptions.
Be sure to buy the correct resistance level for your device and vaping style. Lower resistance coils (sub-ohm) produce larger clouds and are suited to direct lung (DL) vaping, while higher resistance (above 1 ohm) coils are better for mouth-to-lung (MTL) use, which mimics the sensation of smoking.
If you’re unsure, stick with what comes standard with your kit and consider exploring alternatives once you’re more comfortable with the basics.
Step 4: Invest in a Quality Charger
While many vape kits come with a USB charging cable, investing in a reliable wall adapter can protect your battery life and ensure safe charging. Avoid cheap, non-certified chargers that can shorten your device’s lifespan or cause safety issues.
If your device uses external batteries (more common in advanced kits), you’ll need a dedicated battery charger, which is safer than charging directly through the mod.
Charging habits also affect battery performance. As a rule, avoid fully draining your battery or overcharging it overnight. Regular maintenance will keep your device running smoothly for longer.
Step 5: Set a Budget and Track Spending
Building your own vape kit doesn’t mean spending more in fact, it’s often cheaper in the long run. By choosing refillable options and buying in small batches, you can avoid overspending on unnecessary extras.
Start with a modest setup and gradually upgrade if your needs change. Some users find satisfaction with basic kits and never feel the need to move on to more complex devices.
Here’s a rough example of how a beginner-friendly vape kit might break down:
- Refillable pod or pen-style device: £15–£30
- E-liquid (10ml–30ml): £4–£10
- Spare coils or pods: £5–£10
- Charger or adapter (if needed): £5–£10
Altogether, a fully functional kit can cost as little as £30–£50 far less than what many spend on weekly disposable vapes or cigarettes.
Build Your Own Kit for a Smarter Vaping Start
Building your own vape starter kit offers more control, better value, and a smoother transition into vaping. Refillable devices reduce waste and give access to a variety of flavours and nicotine strengths. With a smart, step-by-step approach, you can create a personalised, cost-effective setup for a more satisfying experience.