


If you’re a Photeeq Lens Flare photographer, digital artist, or content creator, you’ve probably heard about lens flares and their ability to add drama and realism to visual compositions. One of the most talked-about tools for this is Photeeq Lens Flare — a powerful digital overlay tool that helps bring natural-looking light bursts into your images with cinematic impact.
In this comprehensive guide, we explore everything you need to know about Photeeq Lens Flare: what it is, how it works, why it’s favored by many creatives, and how you can use it to enhance your photography or visual projects.
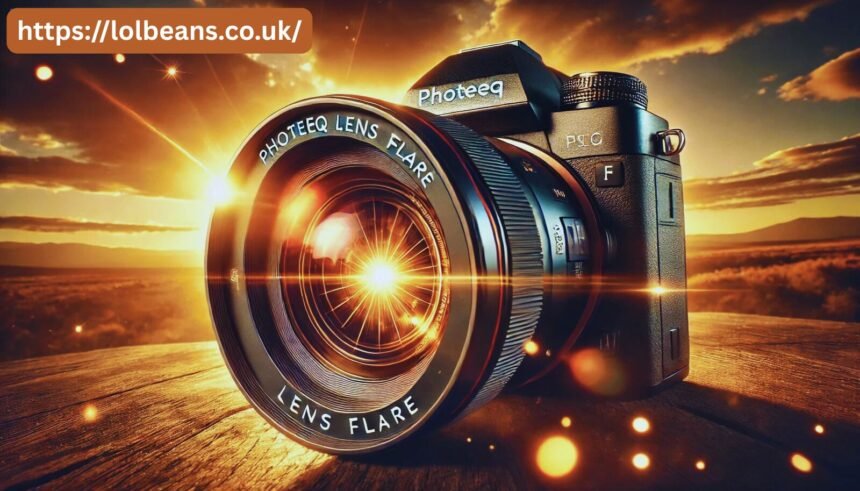
What Is Photeeq Lens Flare?
Photeeq Lens Flare is a digital overlay and plugin pack that allows photographers and editors to add realistic lens flare effects to images in post-production. Often used in Adobe Photoshop and Lightroom workflows, Photeeq’s flare overlays mimic the natural flare caused by direct light sources hitting a camera lens—whether it’s sunlight, headlights, or artificial lighting.
Photeeq’s popularity lies in its high-quality flares, ease of use, and variety of artistic light effects, such as:
- Anamorphic flares
- Warm sunset bursts
- Cinematic streaks
- Soft vintage glows
- Realistic light orbs
These overlays are typically provided in high-resolution PNG or JPEG formats with transparent backgrounds, making them versatile for drag-and-drop editing.
Why Use Photeeq Lens Flare Overlays
Adding a lens flare isn’t just about light—it’s about storytelling. Here are a few reasons why Photeeq lens flare overlays are considered a go-to tool by professionals:
- Instant Visual Impact
A well-placed lens flare can immediately add depth, warmth, and directionality to an image. Photeeq’s realistic textures and light dispersions make your photos feel like a movie scene.
- Time-Saving Workflow
Unlike creating lens flare effects manually, Photeeq overlays are pre-rendered and professionally created, meaning you can save hours in post-production.
- Non-Destructive Editing
Because the overlays are added as separate layers, you can easily adjust, mask, or delete them without altering the original image.
- Wide Compatibility
Photeeq flares can be used with almost any image editing software that supports layers and blend modes, including:
- Adobe Photoshop
- Adobe Lightroom (with brush masking)
- Affinity Photo
- GIMP
- Luminar
- Capture One
How to Use Photeeq Lens Flare Overlays (Step-by-Step)
- Choose the Right Flare
Browse the Photeeq flare collection and select the one that suits your image’s lighting direction, mood, and composition. Choose warm hues for sunset photos, cool tones for night shots, and horizontal flares for cinematic appeal.
- Import into Editing Software
Open your image in Photoshop (or your preferred editor) and drag the Photeeq PNG file onto your canvas. Make sure it’s placed above your main image layer.
- Set the Blend Mode to Screen or Lighten
This makes the black background disappear, allowing the light effect to integrate smoothly into the image. For most lens flares, “Screen” mode works best.
- Resize, Rotate & Position
Use the transform tools (Ctrl+T or Cmd+T) to scale and position the flare exactly where the light source would naturally fall. You can also rotate the flare for dramatic effect.
- Mask and Refine
Use a soft brush to mask unwanted flare elements or reduce opacity if the effect is too strong. Subtlety often works better than intensity.
Best Use Cases for Photeeq Lens Flare
Wondering where lens flare actually fits in? Here are some creative use cases where Photeeq truly shines:
Portraits at Golden Hour
Add warmth and light burst to backlit portraits for a soft, dreamy atmosphere.
Automotive Photography
Enhance car shots with streaky, futuristic light flares reflecting on the metal.
Weddings & Lifestyle
Create timeless wedding photos with a magical sunset lens flare in the background.
Cinematic Composites
Give your digital art or movie posters a professional touch with realistic flares and ambient glows.
Nightscapes & Urban Shots
Add stylized flares to street lamps, neon lights, and skyline shots for mood and depth.
Benefits of Using “Photeeq Lens Flare” in Digital Content
If you’re a content creator or blogger offering photo-editing tutorials or LUT packs, using Photeeq Lens Flare effects can actually boost your SEO strategy.
Here’s how:
- Visual Appeal Increases Engagement: Search engines favor content with lower bounce rates and higher on-page engagement.
- Improved CTR on Visual Platforms: Pinterest, Instagram, and YouTube thumbnails enhanced with cinematic flares stand out in crowded feeds.
- Long-Tail Keyword Leverage: By targeting “cinematic lens flare overlays” or “Photeeq light effects,” your content becomes more niche-focused and likely to rank.
Where to Get Photeeq Lens Flare Packs
Photeeq lens flare bundles are often available through:
- Creative Market
- Gumroad
- Etsy Digital Sellers
- GraphicRiver
- Official Photeeq Website (if available)
When buying, ensure the pack includes:
- High-res PNGs (300 DPI recommended)
- Layered PSD files (optional)
- Commercial use license
- Instructions for usage
Tips for Using Photeeq Lens Flare Like a Pro
✔️ Match the light source: The lens flare should come from a visible light source in the photo—sun, bulb, or lamp.
✔️ Keep it subtle: Overuse can make your image look artificial or distract from the subject.
✔️ Blend it with tones: Adjust hue and saturation to match the mood and temperature of your photo.
✔️ Experiment with lens blur: Apply Gaussian Blur to parts of the flare for a more natural depth-of-field effect.
Final Thoughts: Is Photeeq Lens Flare Worth It?
If you’re serious about enhancing the emotional and cinematic appeal of your photos or artwork, then Photeeq Lens Flare is an excellent, affordable tool to add to your creative arsenal. Whether you’re designing album covers, social media posts, or editorial portraits, these high-quality overlays can add a level of polish and professionalism that stands out. With minimal effort, you can transform flat images into vibrant, light-kissed masterpieces—and that’s the magic of a well-placed lens flare.